Product Variants
How to Create Product Variants?
- Go to Sales App > Configuration > Settings
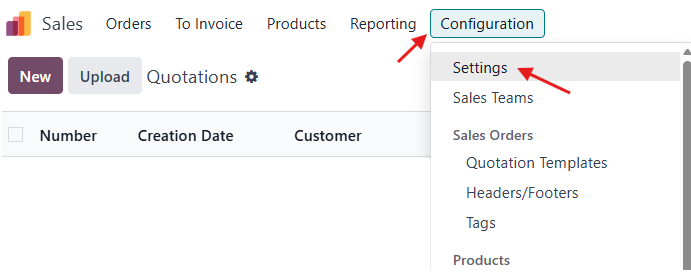
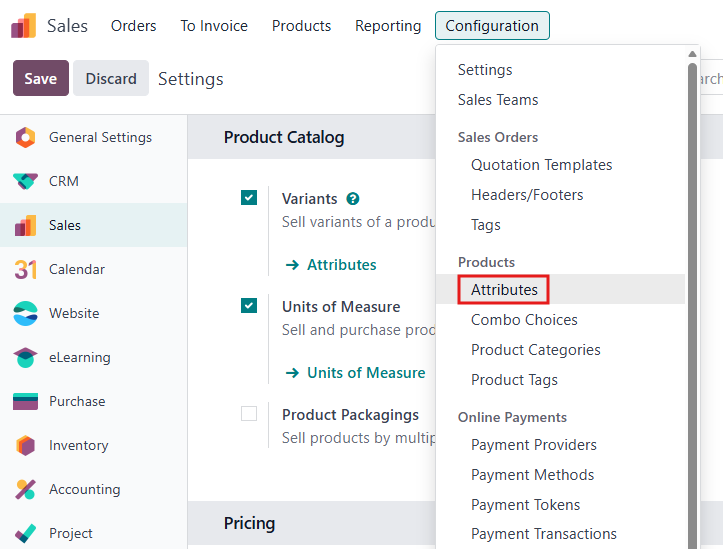
- Enable Variants Feature

- Then, a new menu will appear under Configuration > Products Section called "Attributes".
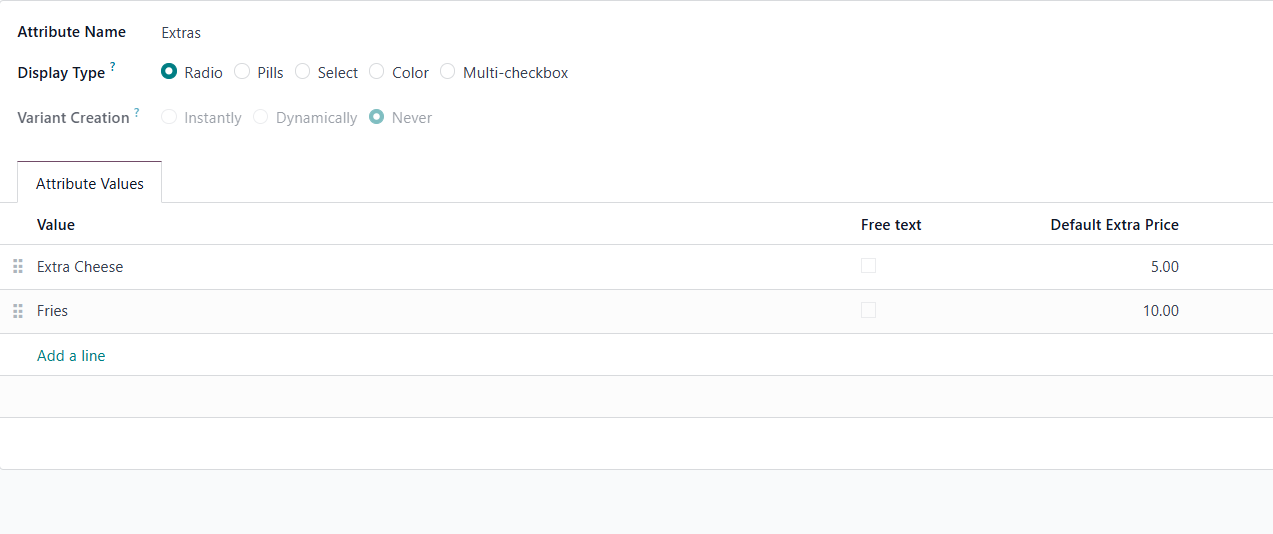
- To configure a new attribute, you need to understand how each field works:
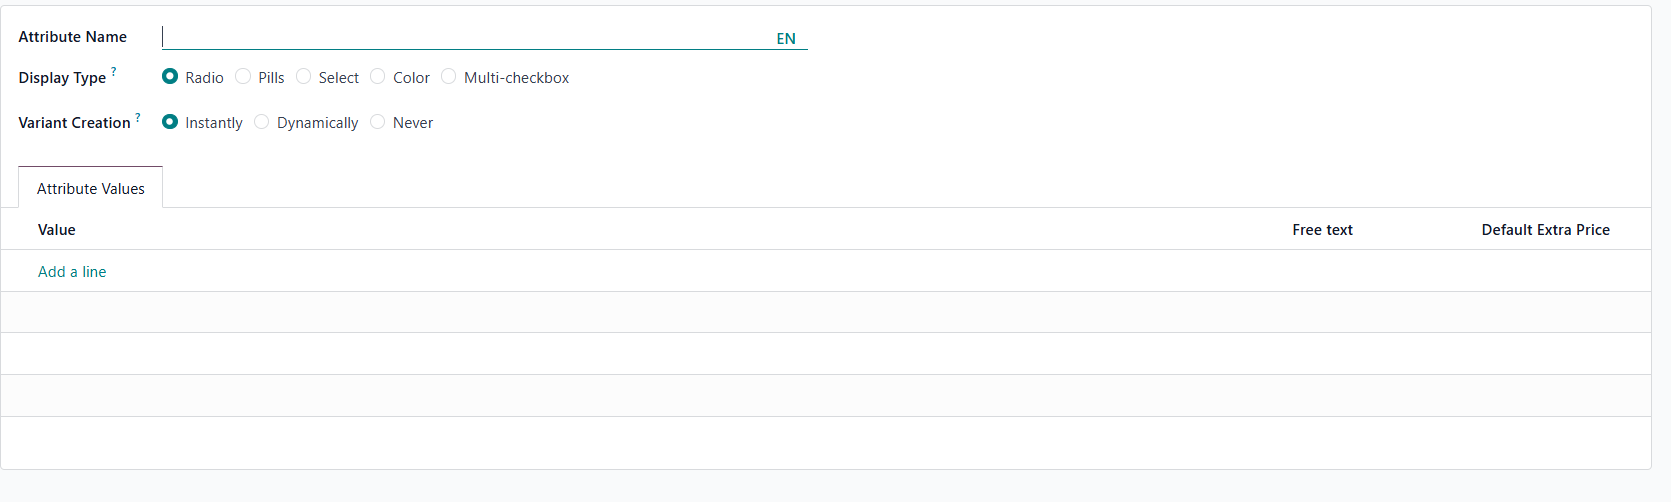
- Display Type: Displays how the attribute selection will look in the catalog (these are shapes).
- Variant Creation: This is for the variant creation option:
- Instantly: When you choose this, it will create a variant as soon as the attribute and its values are added to the product.
- Dynamically: Each variant will be created only when its corresponding attribute and values are added to a sales order.
-
Never: Variants are never created for the attribute.
- You can also add Attribute Values:
- Free Text: It will give you the option to write free text when this attribute value is chosen.
- Default Extra Price: It will give you the option to add an extra price to the product when choosing this value.
I will show you two examples:
- A product that does not need to track inventory.
- A product that needs to track inventory for each product variant.
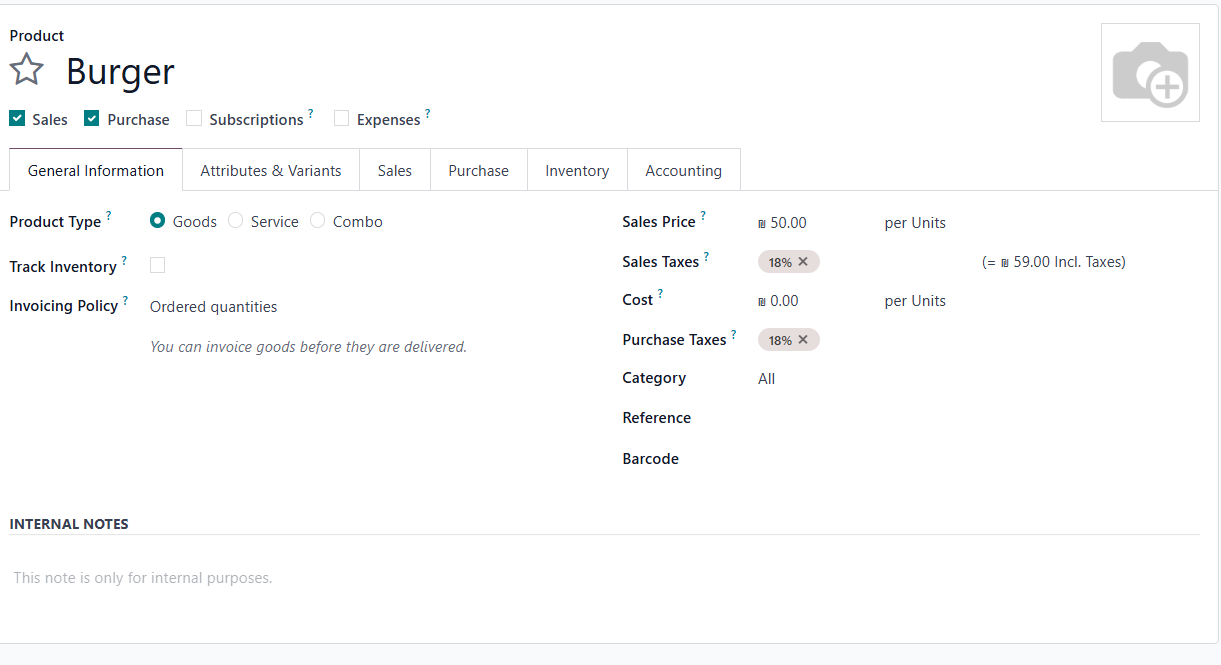
1st Example:
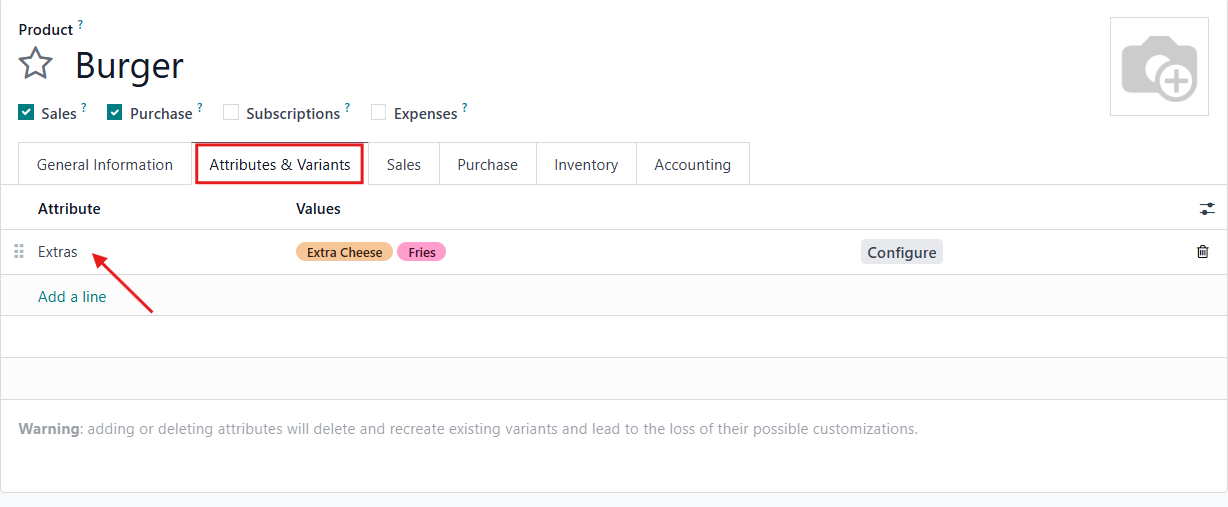
Product: Burger
Sales Price: 50ILS
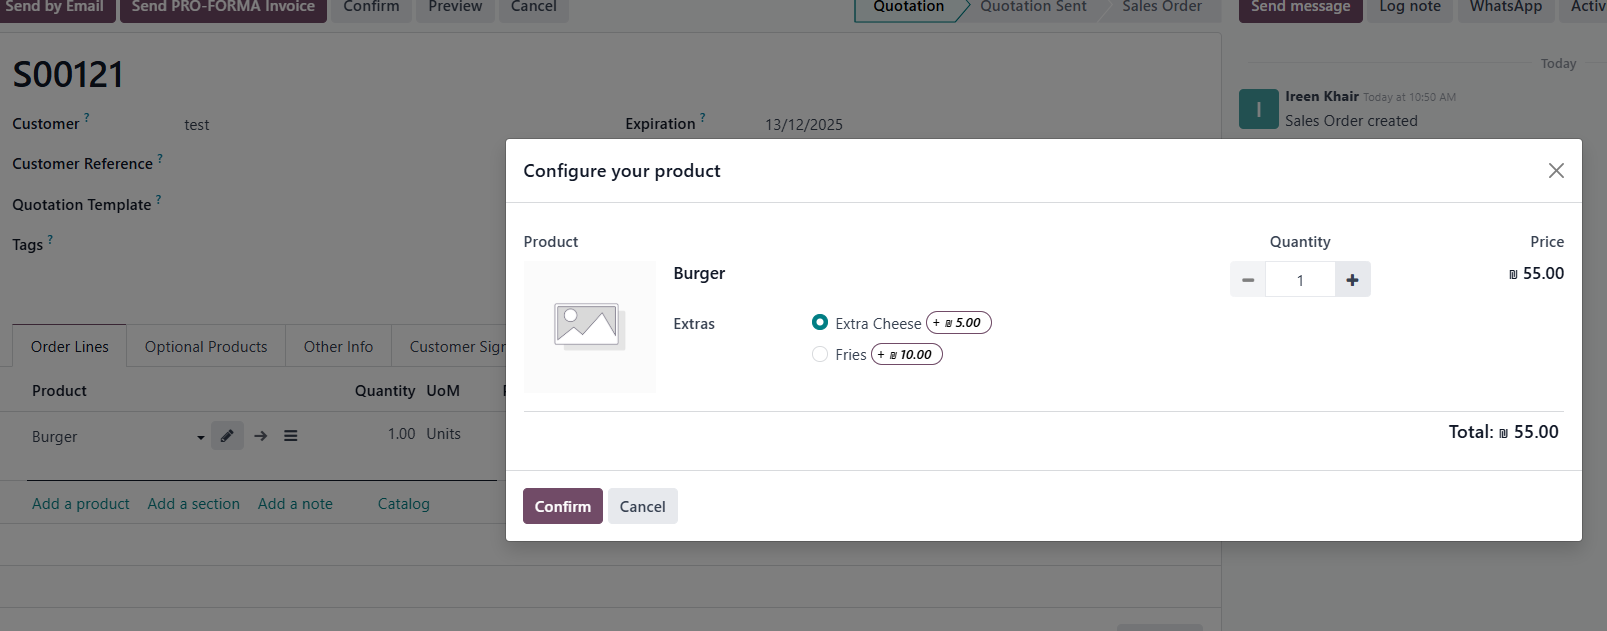
We need to add an extra price if the customer requires extra cheese or extra fries with the burger.
I opened the Attributes and created an attribute named Extras.
Then I went back to my product and added it.
When you order this, it will give you the option to choose with an additional cost:
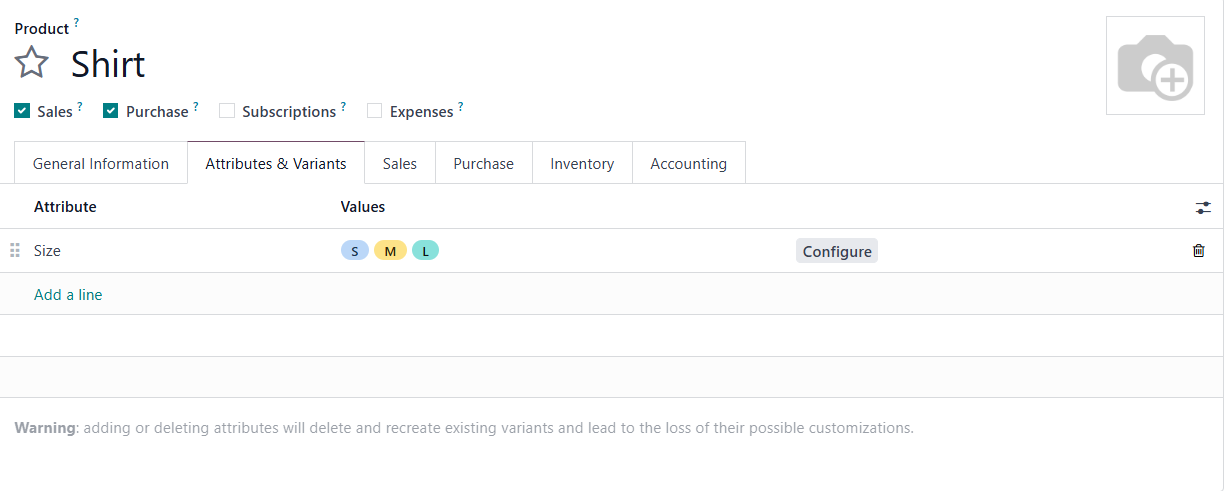
2nd Example:
Product: Shirt (has sizes and we want to track the inventory for each size).
The attribute configuration: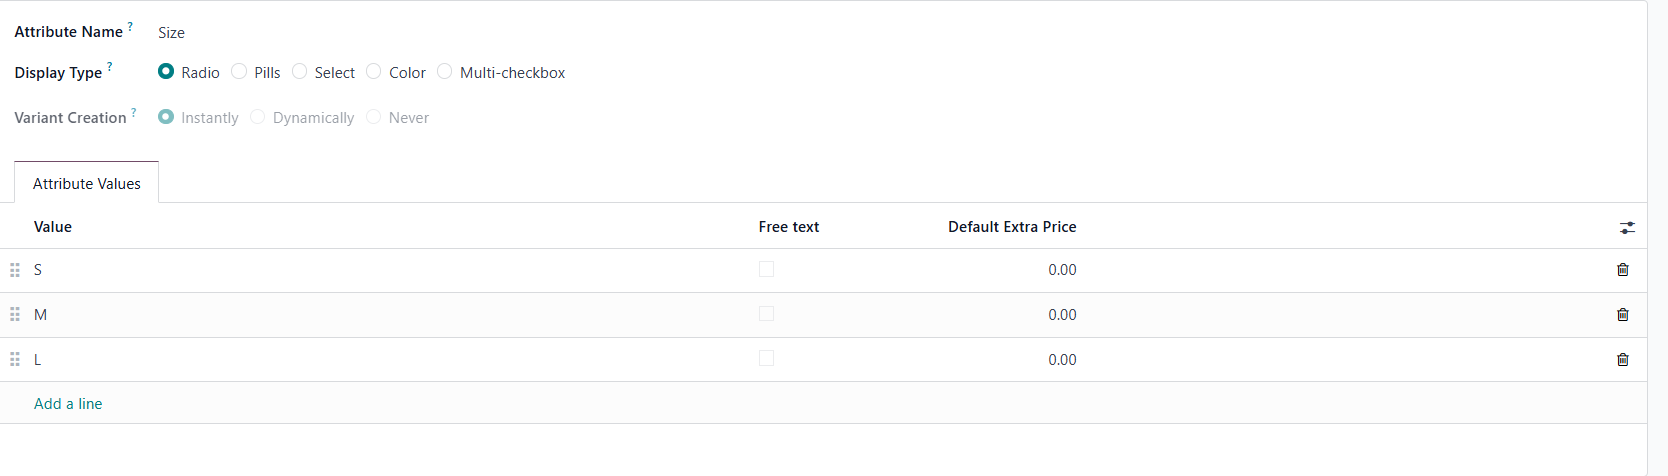
The product Configuration:
The product Variants which are created: (to access them please open Products > Product Variants)
And this is how it will be displayed when a customer orders this product:
There are no comments for now.
to be the first to leave a comment.